Your Cart is Empty
Coffin nails are bold, striking, and unapologetically stylish - the kind of manicure that makes a statement before you even say a word. With their sharp, tapered edges and squared-off tips, they add instant attitude to any look while keeping just enough elegance to stay refined.
Coffin nail designs have become the ultimate choice for anyone who wants their manicure to feel modern, powerful, and fashion-forward - no wonder why they’re so beloved by manicure enthusiasts and nail artists!
In this guide, you’ll find pretty coffin nail designs and creative ideas to inspire your next manicure. Ready to find your new favorite coffin nail inspo? Let’s get into the season’s most trendy designs you can recreate at home.
Coffin nails are the perfect mix of bold shape and modern elegance, giving your manicure instant attitude.
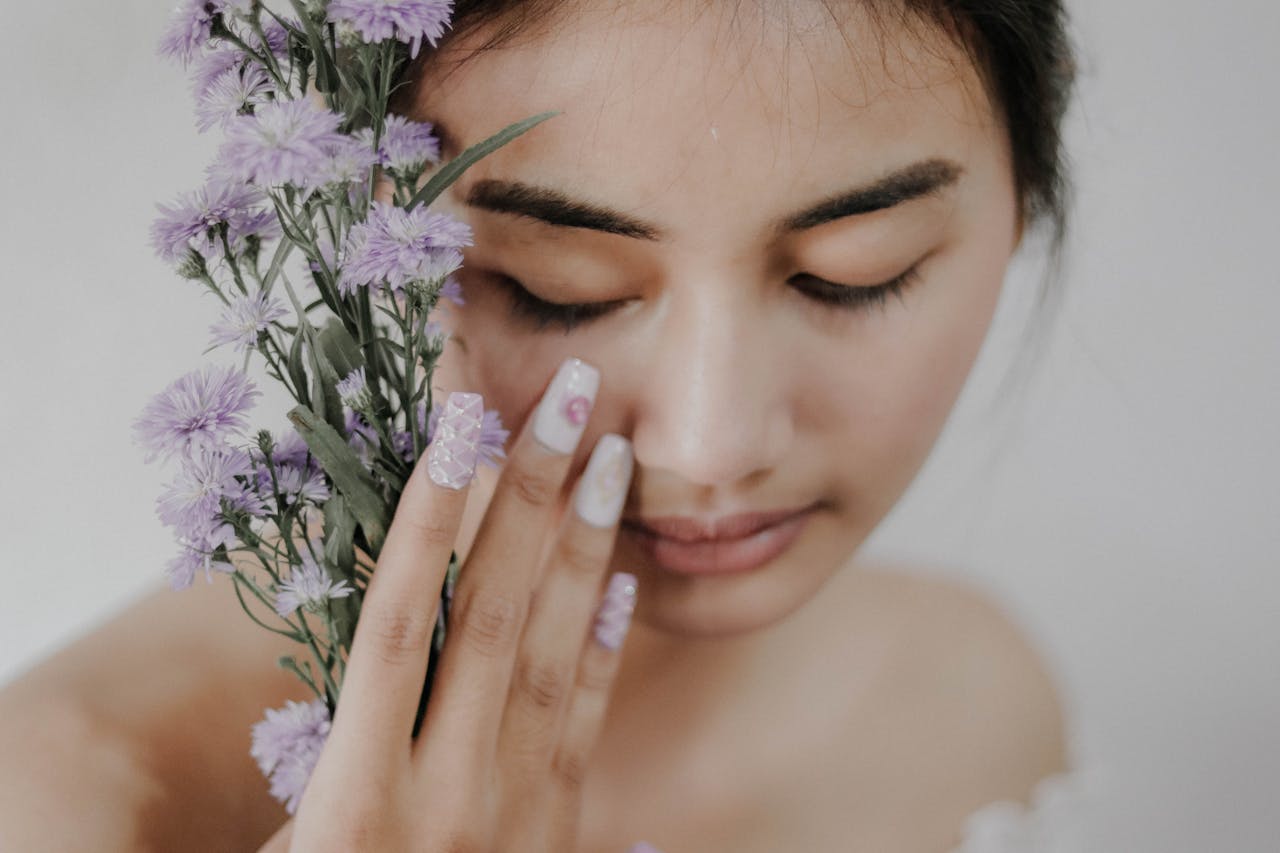
This season’s popular coffin nail designs range from classic French tips with glitter accents to moody matte browns and sparkling jeweled looks.
To get the look, file your nails into a tapered, flat-edge shape.
Explore ella+mila’s Nail Polish Collection to find your new go-to shades and bring these trending coffin nail ideas to life.


Vibrant, confident, and unapologetically bold - teal coffin nails are a statement. This look combines glossy teal polish with accent nails featuring glitter and floral details for a mix of modern edge and soft artistry. It’s a design that instantly grabs attention but still feels polished enough for everyday wear.
How to get this look:

When it comes to pretty coffin nail designs that instantly command attention, glitter is the ultimate go-to.
This design is pure glam - eye-catching, luxurious, and made for anyone who believes nails should sparkle as much as jewelry. The best part? You can go as bold or as subtle as you like, depending on the glitter intensity and shade you choose.
How to get this look:

If fall had a signature manicure, this would be it! The velvety matte finish gives this manicure an earthy charm that pairs perfectly with soft knits, hot coffee, and autumn light.
How to get this look:

There’s beauty in simplicity, and nude coffin nails prove it every time. This look blends elegance with versatility - polished enough for workdays, yet refined for special occasions. The neutral tone elongates the fingers and complements every outfit, making it a must-try for anyone who loves timeless nail styles.
How to get this look:

Playful, feminine, and a little flirty, this coffin nail inspo is all about embracing pink in every shade. The soft gradient from blush to bright rose gives your nails a fresh, youthful glow, while the glossy finish keeps them polished and modern. It’s the kind of manicure that feels joyful no matter the season.
How to get this look:

If you’ve been eyeing those sleek, tapered nails all over your feed and thinking, I could totally pull that off - you’re absolutely right! Coffin nails may look intricate, but shaping them at home is surprisingly simple.
Let’s guide you through the simple steps to achieve that trendy coffin silhouette at home, turning your nails into a statement piece that's bound to catch the eye.
Ensure your nails are clean, dry, and filed to an equal length. This uniformity is crucial as it sets the stage for the coffin shape. Apply a base coat to protect your nails and provide a smooth surface to work on.
Identify where you want the coffin shape to narrow. A good rule of thumb is to start tapering about halfway down the nail. You can make tiny marks with a pencil if it helps to guide your filing.
Using a nail file, gently work on the sides of each nail, angling the file towards the center to create a tapering effect. The motion should be slow and controlled to avoid over-filing. The goal is to narrow the sides while keeping the tip relatively wide, giving that classic coffin appearance.
Once the sides are tapered, it's time to shape the tip. File it straight across to create a flat yet slightly rounded edge to complete the coffin look. This step is what differentiates coffin nails from the more pointed stiletto style.
Go over each nail to ensure the sides are symmetric and the tip is perfectly straight. Use a finer grit file to smooth out any rough edges, ensuring your coffin shape is sleek and even.
After achieving your desired shape, apply cuticle oil to hydrate and a top coat to give your nails a glossy finish. Now, your coffin-shaped nails are ready to be painted with your favorite color or nail art design.
Not necessarily! While they do require a bit of upkeep, regular filing and applying a strengthening base coat like First Aid Kiss will help prevent breakage. Shorter coffin nails are also a great option if you want the look with less maintenance.
Yes, you can absolutely rock coffin-shaped nails without the extra length. The key is to file your natural nails into a slightly tapered shape and use a neutral polish to elongate the appearance.
Coffin nails are versatile and look great with nearly any finish. You can try bold colors for drama, or softer tones for everyday wear. For added style and a modern twist, seal your manicure with a matte top coat.
Always start with a base coat, use thin layers of polish, and finish with a top coat to lock in color and shine. Regularly applying a cuticle oil keeps your nails hydrated and helps prevent chips.
They’re actually the same shape - just two names for one stylish design. Some call them coffin nails because of the squared-off tip, while others prefer ballerina nails since the shape resembles a pointe shoe. Either way, it’s the perfect balance of edgy and elegant.
Coffin nails prove that confidence can live right at your fingertips, and their bold, sculpted shape gives every design a touch of modern edge. There’s a version of this trend that fits your vibe perfectly, no matter what aesthetic you’re going for.
Ready to recreate these looks? Explore the ella+mila Nail Polish Collection to find your perfect shades, top coats, and tools for flawless coffin nail designs.
And if you want even more ideas, visit the ella+mila blog for nail art inspo, tutorials, and expert tips to keep your manicures looking fresh, fun, and totally you!


