Your Cart is Empty

As the sun-kissed days of summer approach, it's time to prep not just your beach nails but also your toes! Whether you're lounging by the shore or hitting up pool parties, having stylish toenails can make a splash. What better way to stand out than with DIY toenail art that reflects your unique style and creativity?
In this guide, we'll dive into the world of summer toenail art, exploring easy-to-do designs that you can recreate at home. From tropical motifs to mesmerizing ombres, we've curated the hottest trends and step-by-step tutorials to help you achieve picture-perfect toenails without breaking the bank.
Get ready to unleash your inner artist and transform your toes into stunning canvases that are beach-ready and sure to turn heads. Let's jump in and discover how you can nail the art of summer toenails with flair!
Before you explore your possibilities for stunning toenail art, you also need to know how to prepare your nails properly. Follow these steps to ensure your canvas is smooth and ready for your masterpiece:
Step 1: Trim and Shape
Get the right tools from yourpedi kit. Start by trimming your toenails to your desired length using nail clippers. Use a nail file to shape them into a neat oval or square shape, depending on your preference.
Step 2: Buffing
Gently buff the surface of your toenails with a nail buffer to smooth out any ridges. This helps create a uniform base for your nail polish and ensures a flawless finish.
Step 3: Cuticle Care
Apply acuticle softener or oil around the edges of your toenails to soften the cuticles. Use a cuticle pusher or orangewood stick to gently push back the cuticles for a clean nail bed.
Step 4: Moisturize
Hydrate your toenails and surrounding skin by applying a moisturizing lotion or cuticle oil. Massage it in to improve circulation and promote healthy nail growth.

As you can see, it’s not difficult at all, and the advantages don’t end there. Smooth, well-prepped nails not only enhance the longevity of your nail art but also give it a polished and professional look.
Now that your nails are prepped and ready, let's explore some trendy summer toe nail designs you can easily achieve at home!
Embrace the vibrant spirit of summer with a tropical paradise pedicure. This tropical-inspired look features bright colors and playful motifs that evoke the feeling of sandy beaches and lush palm trees swaying in the breeze. It's perfect for adding a splash of tropical flair to your beach-ready toes!
Here’s how to get this look:
Pro Tip: To enhance the tropical vibe, consider adding amatte top coat to certain areas of your design for texture contrast.
When it comes to effortless elegance, few nail styles rival the timeless allure of perfect nude toenails. Especially during the sun-drenched days of summer, nude shades not only scream sophistication but also beautifully complement tanned skin tones.
The beauty of nude nails lies in their versatility. From soft beige and peachy nude to subtle blush tones, there's a nude shade to suit every skin tone and preference. Opt for a shade that closely matches your natural skin tone for a seamless and elongated look to your fingers and toes.

We’re not discovering America with these tips but there are some steps you can take to make your nude summer pedicure last you for days on end.
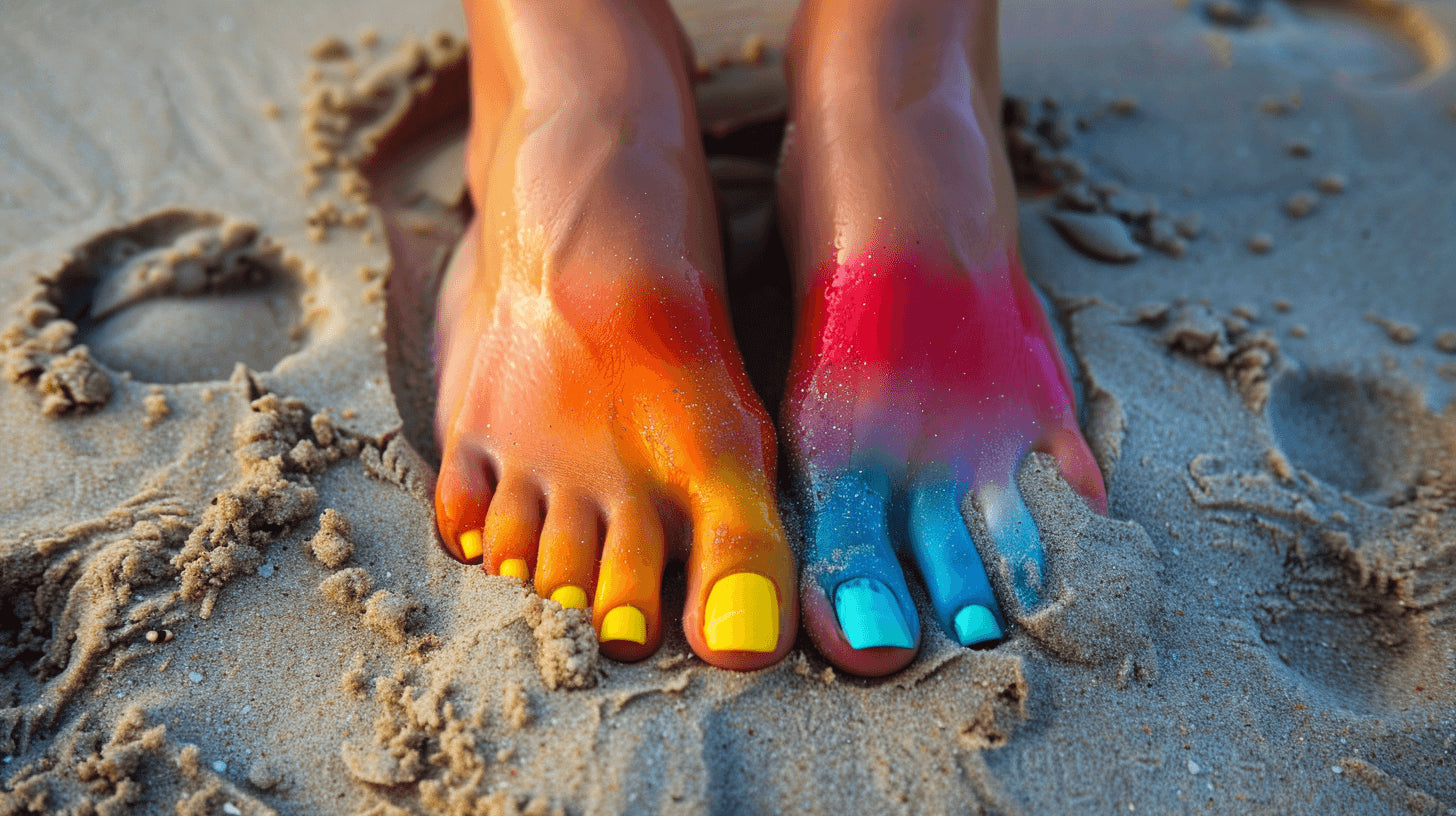
Capture the breathtaking hues of a summer sunset with the ultimate ombre pedicure. This gradient style transitions from warm, vibrant colors at the base to softer, lighter tones toward the tips, mimicking the stunning colors of dusk. Perfect for adding a touch of sunset-inspired beauty to your toes, this design is sure to turn heads wherever you go.
Here’s how you can get the perfect sunset ombre toenails:
Paint like a pro:
Pink toenail designs offer a delightful blend of femininity and versatility, making them a perennial favorite for any season, especially during the vibrant days of summer. Whether you prefer soft pastels or bold hues, pink toenails effortlessly add a touch of elegance and playfulness to your overall look.

From delicate blush tones to vibrant hot pinks, there's a wide spectrum of shades to explore when creating your summer pink toe nail designs. Choose a shade that complements your skin tone and matches your mood. For example, you can try:
Looking for the best summer pink toe nail designs? Check these out:
Embrace the timeless charm of the seaside with the Nautical Vibes toenail art design. This design draws inspiration from classic maritime elements, featuring navy blues,crisp whites, and accents like anchors, stripes, and sailor knots. Perfect for beach lovers and ocean enthusiasts, this nautical-themed nail art will add a touch of maritime elegance to your summer look.
The nautical pedicure can pose quite a challenge. Still, we believe you can definitely give it a go! Besides, practice makes perfect, so grab your trustynail art kit, and let’s get down to painting.
As summer beckons with its sunny days and beachside adventures, transforming your toenails into stunning works of art adds an extra touch of fun and flair to your seasonal look. The joy of DIY toenail art lies not just in the final look but in the process itself - a relaxing and rewarding way to pamper yourself and showcase your personal style.
Remember, with a few basic tools and a dash of imagination, you can achieve salon-worthy results from the comfort of your home. Whether you're a nail art enthusiast or trying it out for the first time, don't hesitate to experiment, mix colors, and let your creativity shine.
Visit our blog for more nail inspiration and useful tips!