Your Cart is Empty
Can’t get an appointment at your favorite nail salon, or the prices went through the roof and you’re looking to cut down your spending? It’s time to learn how to paint your nails like a pro from the comfort of your home!
Whether you're a nail art enthusiast or simply aiming for well-groomed fingertips, mastering the art of nail painting is a valuable skill. Beyond the aesthetic appeal, beautifully painted nails help you feel more confident and reflect your personal style.
In a moment, we'll take you through each step of the nail painting process, from nail preparation to selecting the perfect polish and mastering application techniques. Whether you're a beginner looking to enhance your nail care routine or an experienced manicure maven seeking to refine your skills, this guide has something for everyone.
Let's dive in and paint the town – and our nails – with style!
Before you can get down to business, you need to prepare your nails first. Preparing your nails before painting them ensures a smooth and long-lasting manicure, helping you achieve polished perfection with every swipe of polish!
Prep your nails the right way by following these simple steps:
By following these simple nail preparation steps, you'll make sure that your manicure starts off on the right foot – or should we say, the right fingertip! With clean, trimmed, and buffed nails, you're ready to move on to the next exciting stage of the nail painting process.
Is this the hardest step in the whole process? To some - absolutely! First, you need to decide on the type of nail polish you want to use. And then, of course, you’ll have to think about the color - you’ll have it on your nails for quite some time, so we understand that it’s not an easy decision to make.
Let’s talk about both issues in more detail below.
When it comes to picking the perfect nail polish, it's all about finding what works best for you! Think about what you need from your polish – whether it's vibrant colors that pop or long-lasting wear for those busy days. What are your options?
Think about the application method, too - gel polishes typically require curing under a UV or LED lamp, while traditional polishes are air-dry and don’t require any additional equipment.
What’s more, if you're always on the move, quick-drying formulas are your best friend, offering convenience without sacrificing style. So, don't be afraid to try out different types until you discover your perfect match – it's all about finding a formula that makes you feel fabulous and fits your lifestyle.
When it comes to choosing nail polish colors, you need to consider both your skin tone and the occasion.
Start by identifying your skin's undertones – whether they're warm, cool, or neutral – to find shades that complement your complexion. For warm undertones, opt for nail colors with golden or peachy undertones, such as warm reds, oranges, and earthy neutrals (check outWild About You,Spread the Love, andA La Nude).
Cool undertones pair beautifully with shades like cool blues, purples, and icy pastels (go forLife’s a Beach,Mila’s Fave, orMy Rain-Beau).
Neutral undertones have the flexibility to pull off a wide range of colors, from classic nudes to bold jewel tones (looking at you,Forever Mine andSummer Roam-Ance).
Additionally, consider the occasion when selecting nail colors. For everyday wear, versatile neutrals (check outHoneymoon Bliss), soft pinks (likeBarely Pink), and subtle metallics (you must see ourGlass Slippers) are perfect for a polished look that goes with everything. Special occasions call for bolder choices, such as vibrantreds, glitterymetallics, or trendy nail artstickers or designs.
Whether you're dressing up for a night out or keeping it casual for brunch with friends, choosing nail colors that complement your skin tone and suit the occasion will elevate your overall look and make a stylish statement.
To create salon-worthy nails in the comfort of your own home, you'll need the perfect set of tools and supplies! Let's go through the must-have items for your nail painting adventure:
By stocking up on these essential tools and supplies, you'll be more than ready to create stunning nail looks from the comfort of your own home. With the right tools at your disposal, you’ll learn how to paint your nails like a pro in no time!
Now that you have everything ready, it’s time to paint your nails! It’s really simple - just six steps, and you’re all done.
Here’s how to paint your nails like a pro:
Step 1: Apply base coat. Start by applying a thin layer of base coat to clean and dry nails. The base coat not only helps the polish adhere better to the nails but also protects them from staining and strengthens them.
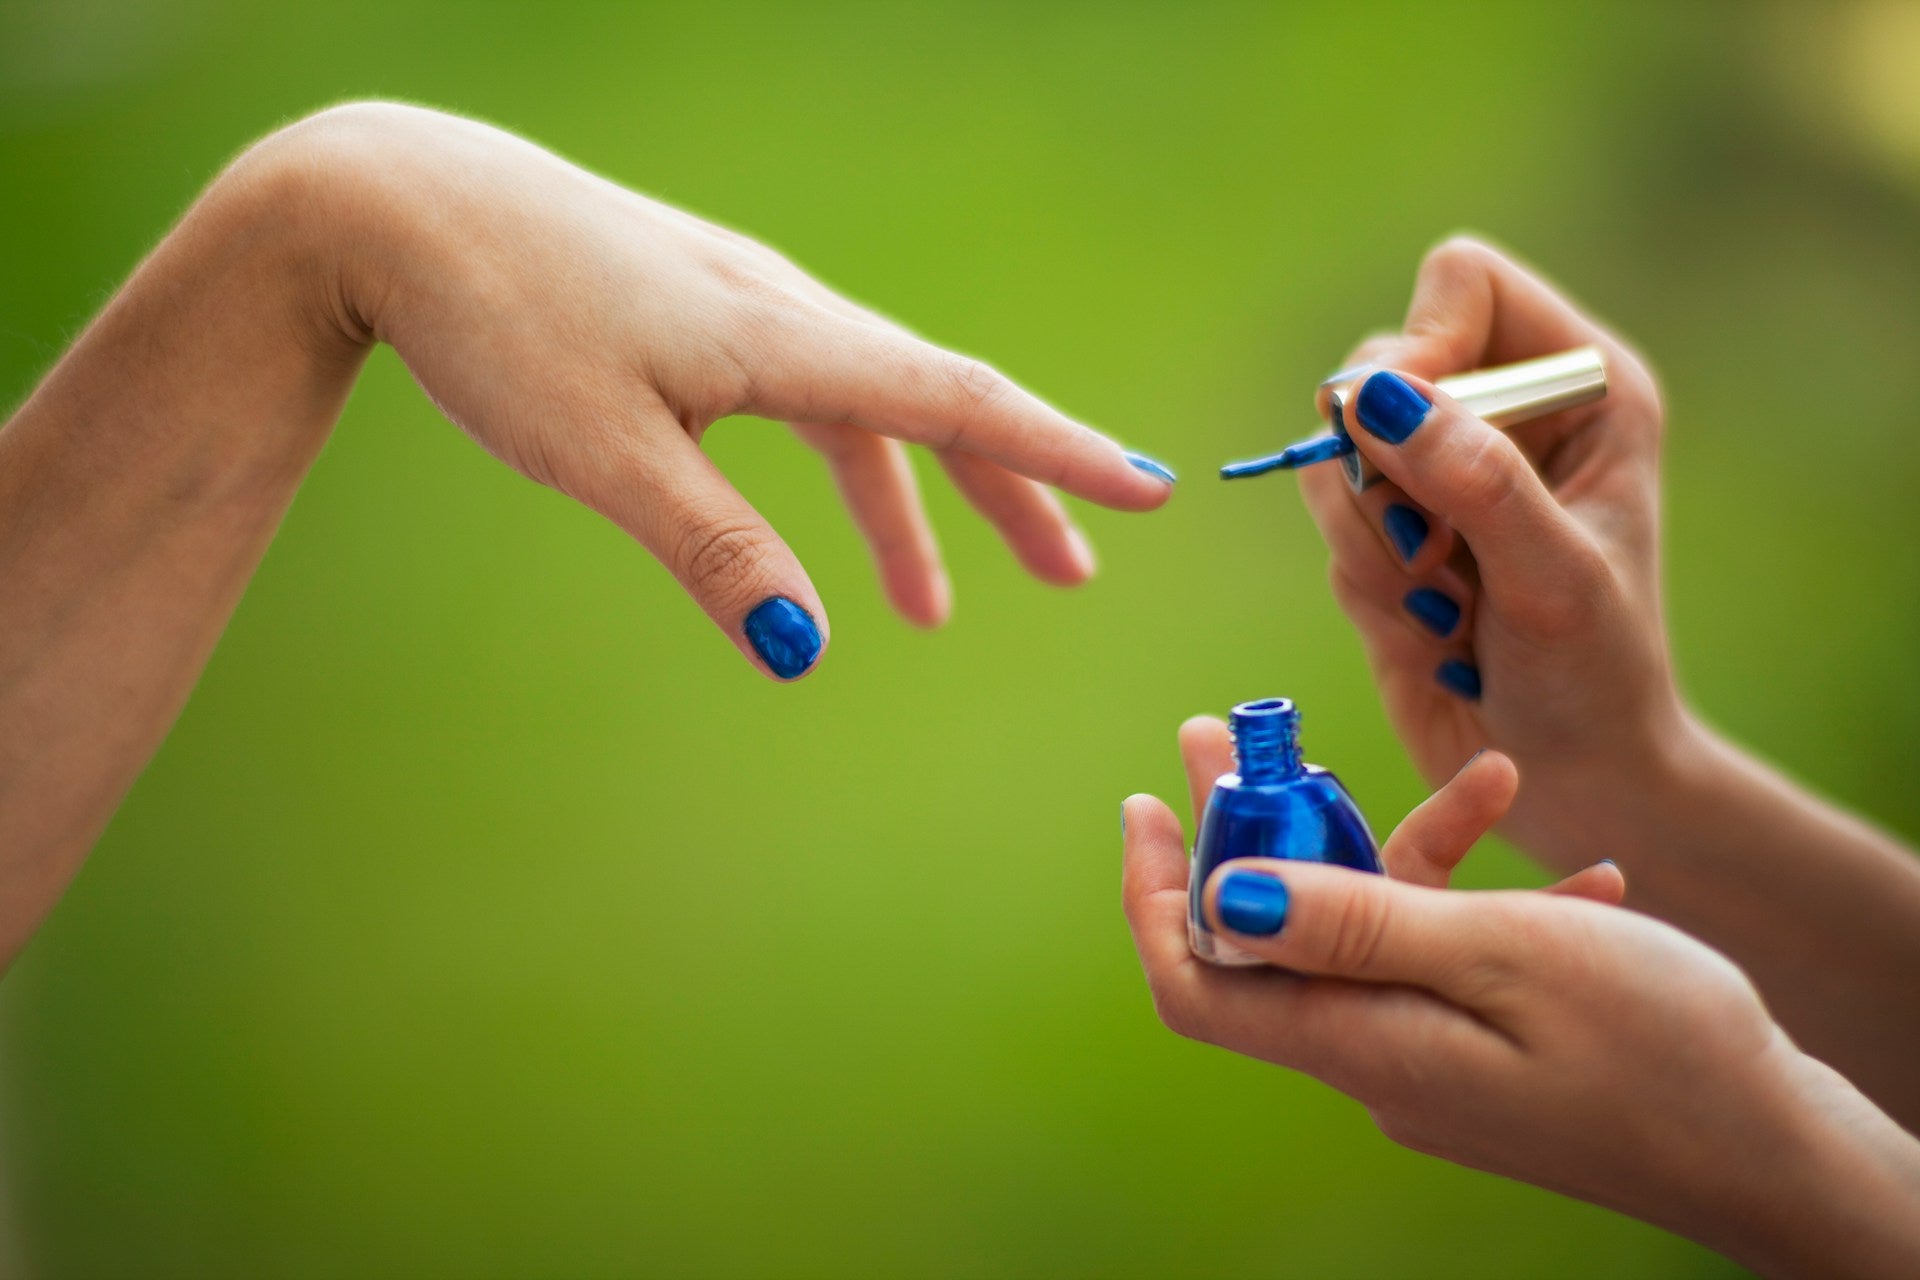
Step 2: Grab a bottle of your chosen nail polish. Hold the brush between your thumb and fingertips, allowing for better control and precision.
Step 3: Dip the brush into the polish, wiping off any excess on the rim of the bottle.
Step 4: Starting at the base of the nail near the cuticle, apply a thin, even layer of polish in long, smooth strokes. Be sure to leave a small gap between the polish and the cuticle to prevent flooding.
Step 5:Continue applying the polish in thin layers until you achieve the desired opacity. Remember, it's better to apply multiple thin coats than one thick coat, which can lead to streaks and unevenness.
Pro tip: If needed, apply additional coats of polish to build up the color to your liking. Allow each layer to dry completely before applying the next to prevent smudging and ensure a smooth finish. Adding additional layers will ensure you achieve your desired opacity.
Step 6:Seal with top coat for longevity and shine. Once the polish is completely dry, finish off your manicure with a layer of top coat. The top coat seals in the color, adds shine and extends the wear of your manicure. Apply a thin layer of top coat to each nail, making sure to cap the edges to prevent chipping.
And that’s it! Just follow along with these easy steps, and you'll be rocking salon-quality nails in no time.
The reason why so many people dread painting their own nails is because they are afraid they’ll mess up when painting with their non-dominant hand. If you’re one of them, don’t worry - we’ll share our tips and tricks below!
Note for the person implementing the picture - could you flip it on the side, so it’s not vertical but horizontal?
Congratulations, you've reached the end of our ultimate guide on how to paint your nails! Armed with essential tips and techniques, you're now equipped to create stunning manicures right in the comfort of your own home.
Remember, practice makes perfect, so don't be afraid to experiment with different colors, designs, and techniques. With patience and perseverance, you'll soon be painting flawless manicures that rival those of a professional salon.
And if you’re looking for a perfect nail polish, we’ve got you covered! Say hello to flawless nails with ella+mila's quick-dry, chip-resistant formulas. Whether you're rocking a chic black ensemble or experimenting with vibrant colors, ella+mila's nail polishes promise a flawless finish that stays on and looks fabulous day in, day out.
Ready to nail it? Check out ella+mila's stunningnail polish collection today, and let your fingertips do the talking.


